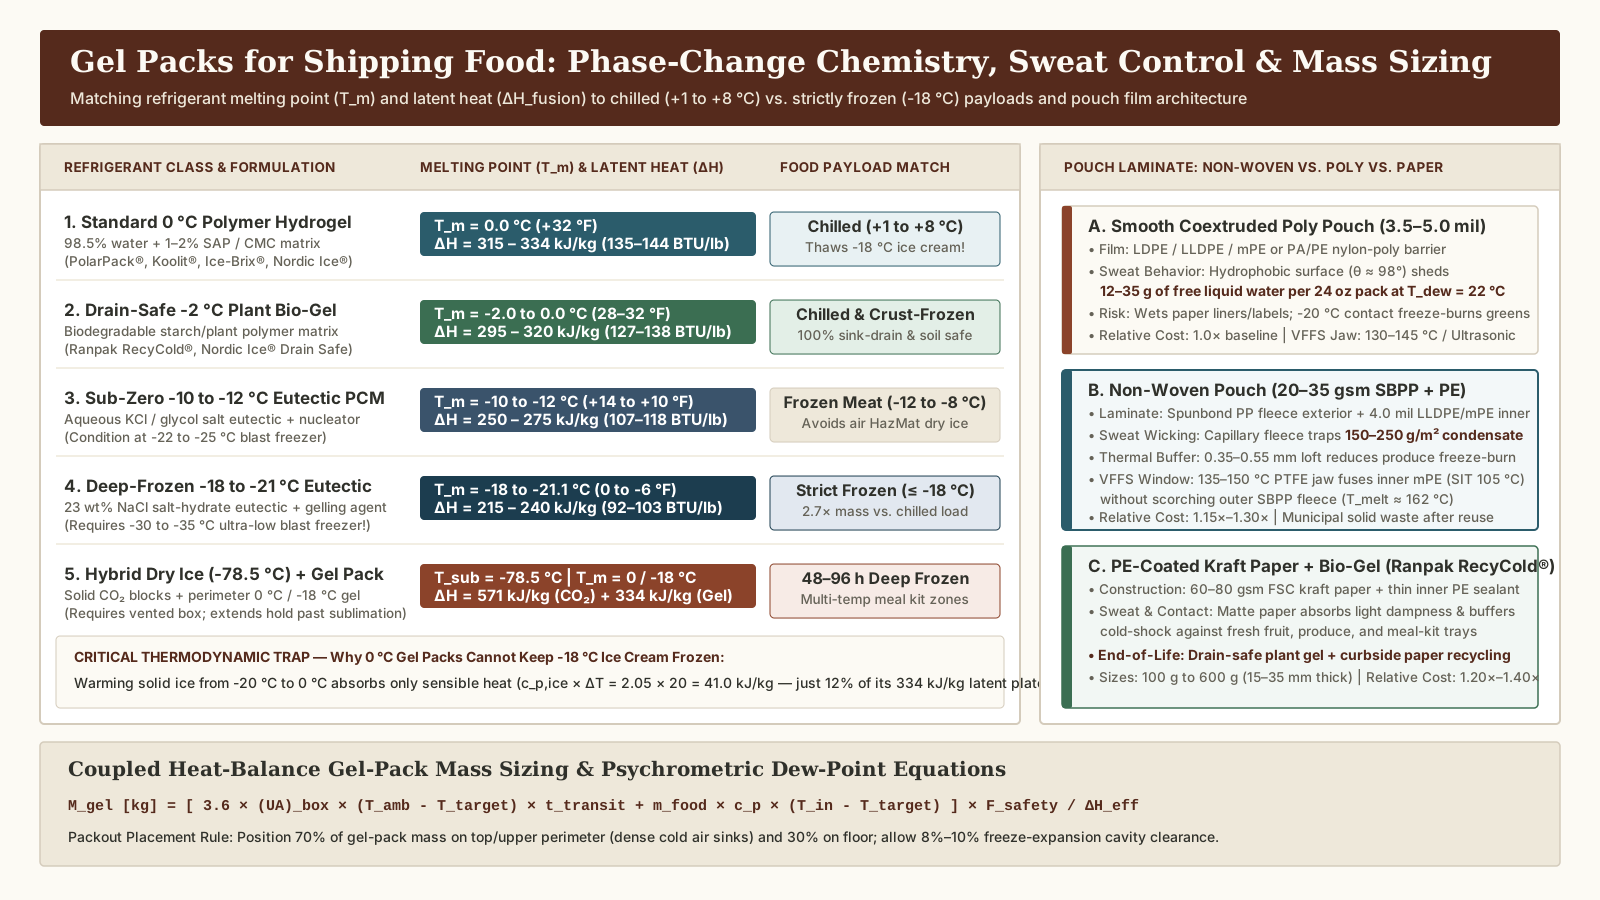
Match a bag sealer to the mailer’s actual seal interface, then trial the finished construction. A silver insulated bag may use an adhesive closure, heat-sealable film or a layered edge that requires a different joining process. Begin with the material drawing and closure instruction before comparing jaw lengths or machine output.
This guide belongs to insulated packaging machinery. Use it to structure a material compatibility trial before locking temperature, dwell time, and jaw pressure settings.
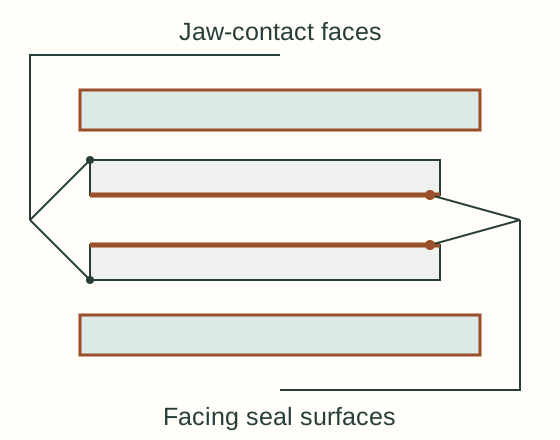
Identify the surfaces that must join
Ask the material supplier for the layer sequence, sealant identification and the intended closure geometry. Mark which surfaces meet when the bag closes. A reflective outer layer can conceal a different inner film, and a folded gusset can put more layers under the jaws than a flat sample.
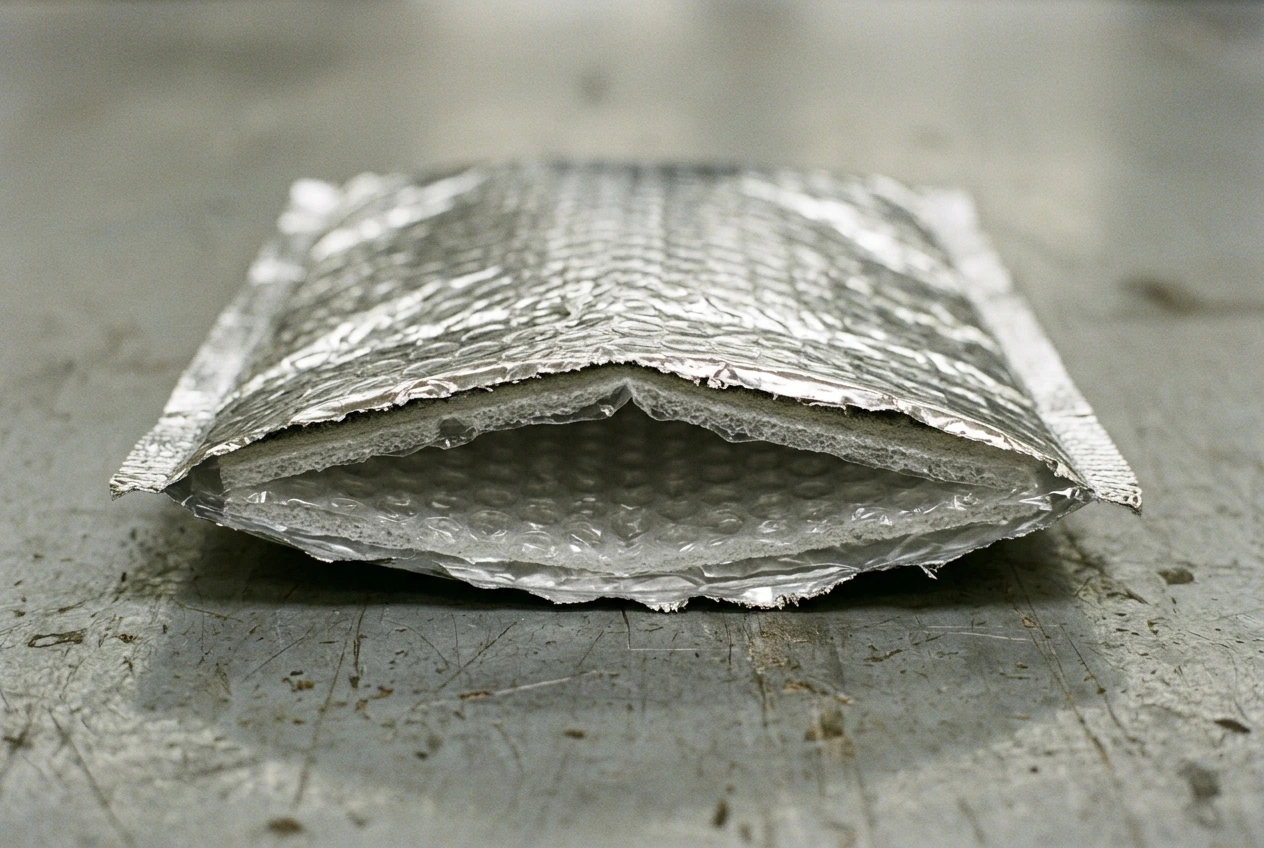
An adhesive closure should be reviewed using its own application requirements. IPC documents an optional peel-and-seal lip on one liner construction. Adding heat because the bag looks metallic would change the process rather than verify the intended closure.
Read the machine’s exclusions as closely as its capabilities
Audion’s Lamino documentation gives a specific example: it describes a constant-heat sealer for certain laminated materials and warns against pure PE film or laminates with PE on the outside because the material may melt on the bars. That is a limitation for the documented machine, not a rule that all PE bags are unsuitable for heat sealing.
The lesson for an insulated mailer is to identify every contact surface. Obtain a supplier evaluation for the actual material stack, especially where cushioning, adhesive, coatings or gussets approach the seal area. A successful flat-film demonstration does not establish compatibility with the assembled mailer.
Write the trial record before running samples
| Trial field | What to specify | Acceptance evidence |
|---|---|---|
| Material | Supplier reference, lot and layer construction | Identity matches the approved sample |
| Closure | Seal surfaces, flap and gusset arrangement | Drawing identifies the complete joined region |
| Equipment | Actual machine and jaw configuration | Supplier confirms the evaluated construction |
| Operating recipe | Authorized parameter reference | Trial record retains the settings actually used |
| Bag support | Loaded mass, orientation and support method | Bag remains located without pulling the seam |
| Inspection method | Agreed visual and mechanical or integrity checks | Criteria selected for the closure’s intended function |
| Variation | Difficult folds, material range and restart conditions | Results remain associated with each tested condition |
Choose the test method and acceptance limit with the packaging owner. A seam can look continuous while failing its intended function. Conversely, a wrinkled cosmetic surface may need a different assessment from a channel through a required barrier. Do not replace the agreed test with a hand pull simply because it is convenient.
Inspect the edge after handling, not only at the jaws
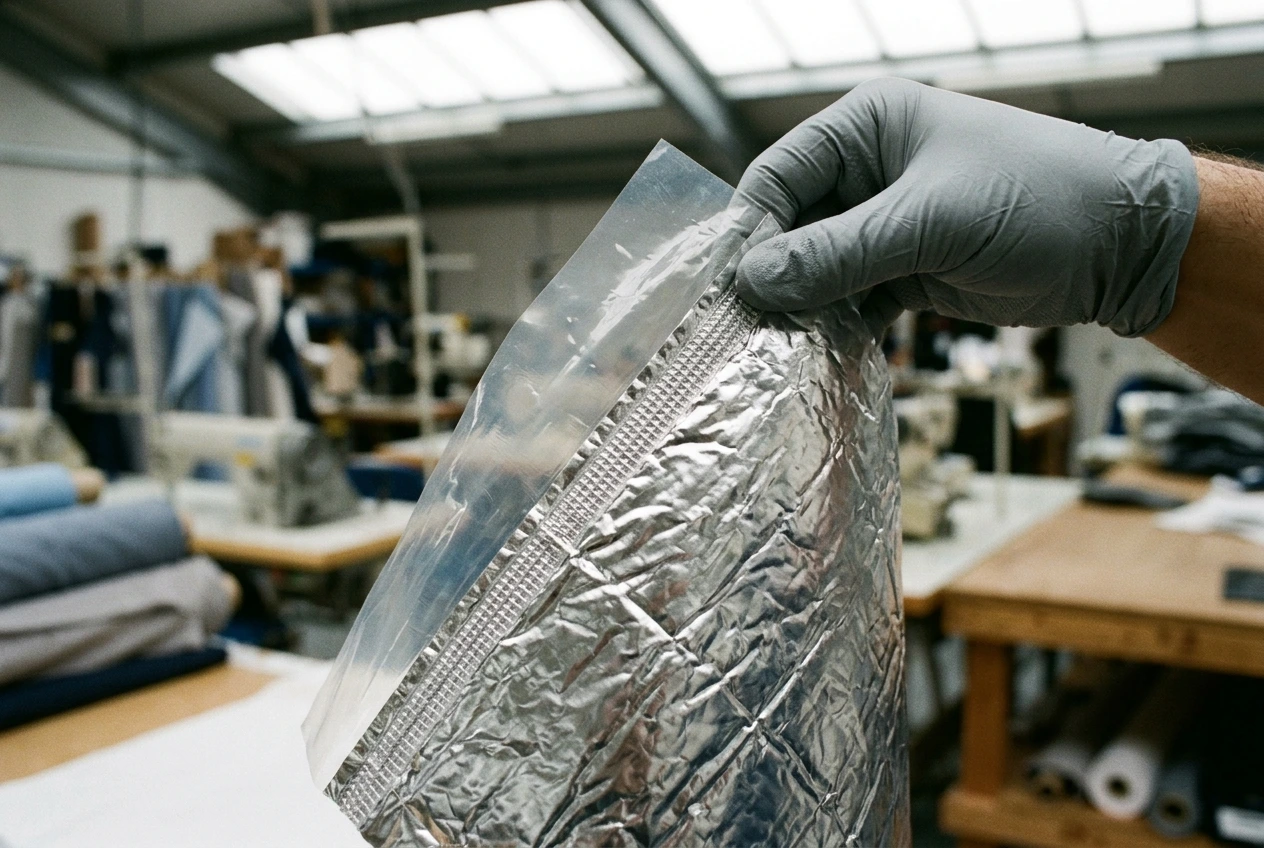
Check the seam’s location, continuity and surrounding material for tearing, thinning or delamination. Include the points where the layer count changes. If the loaded mailer hangs from the seam during discharge, evaluate support and cooling or settling requirements using the actual machine and material instructions.
Retain the sample identity and test result together. If a defect appears only after handling, record that sequence so the next trial can distinguish the joining operation from the support problem. Follow the equipment manual for guarding and parameter adjustment during the trial.
Make changes one documented trial at a time
An unapproved increase in heat can damage one layer while making another appear more bonded. Return to the material and machine supplier’s permitted setup before adjusting parameters. Evaluate an approved change with the same inspection method, then update the controlled recipe and sample reference if accepted.
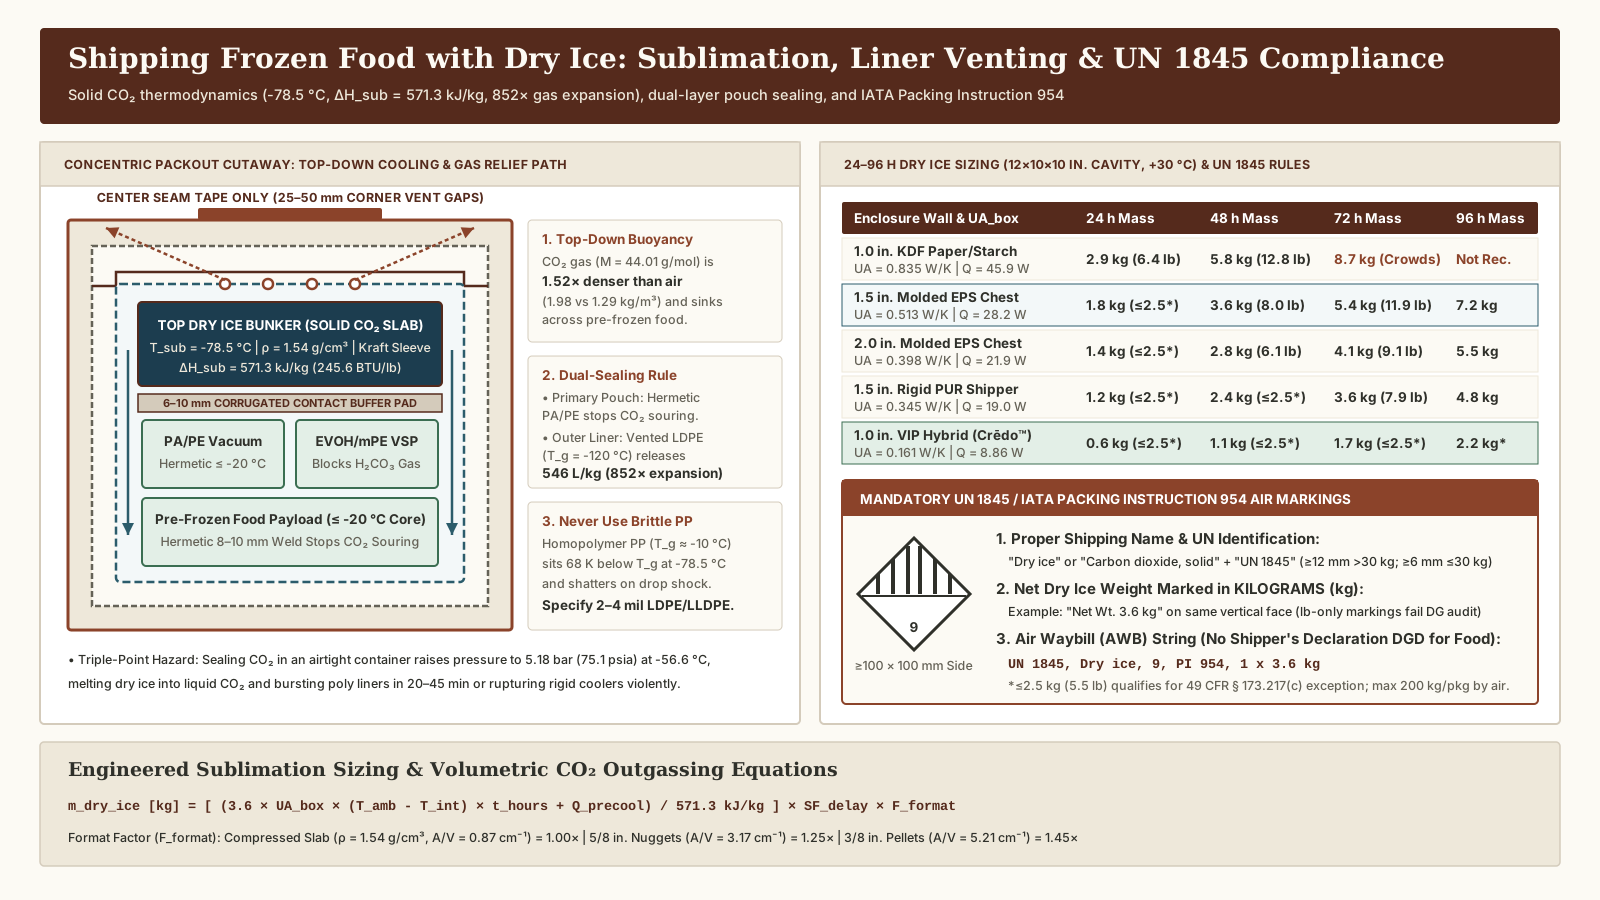
For upstream blank and fold variation, consult the liner converting traveler. For quantitative VMPET/PA-bubble/LLDPE layer specifications, 2-ply side-weld vs. 4-ply bottom-gusset jaw recipes, and ASTM F88 / F1140 closure qualification against PSA strips, see our insulated bubble mailers laminate and seal integrity guide. When sealing primary barrier pouches alongside vented outer liners for solid carbon dioxide packouts, review our shipping frozen food with dry ice venting and UN 1845 guide. A sealer trial is easier to interpret when incoming geometry is controlled.
Method and sources
The material-exclusion example comes from Audion’s primary Lamino product documentation. The alternative adhesive closure comes from IPC’s liner documentation. Confirm jaw configuration and seal-bar coatings directly with the equipment manufacturer for your laminate structure.